Infrared Heating for Painting: How It Works and Why It Feels Like a Revelation
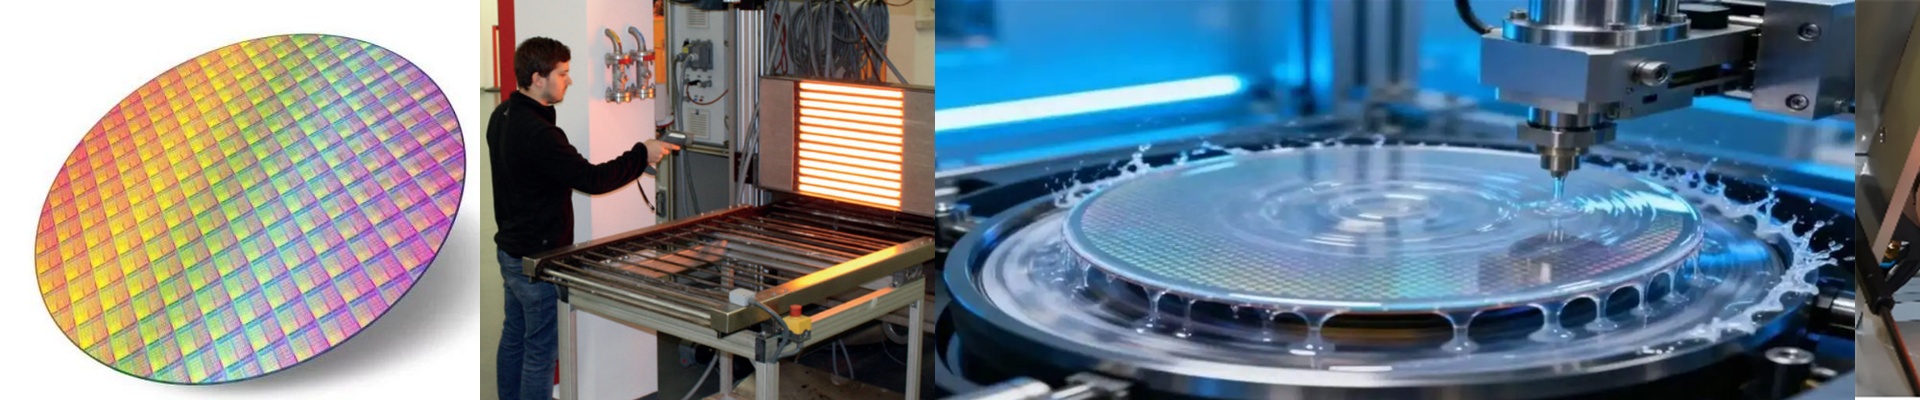
Let’s talk about infrared heating for painting—because once you see it in action, it just clicks. Instead of heating the whole room, infrared sends heat straight to the object. Like a warm spotlight, right where you need it. No overspray headaches. No waiting around for air to do its thing. The paint cures faster, and the finish feels more consistent, more controlled. We build these systems for real industrial finishing lines, with one goal in mind: give you heat that’s focused, repeatable, and exactly where you want it.
Power, Voltage, and Size: The Practical Details That Matter
Here’s the part you’ll actually work with. Our infrared units are sized to match your process, not the other way around. Most run on 230V or 400V, and they pack a punch—anywhere from 1500W to 2500W. The tubes come in common lengths like 300mm or 450mm, which keeps the footprint small. That compact size is a big deal. It lets you pack several units close together, so you can build a dense array and ramp up temperature fast. But faster heat means you need a power supply that can keep up. The wiring has to handle the full load cleanly—no voltage drop, no surprises. When it’s set up right, the system feels responsive, almost eager.
Built to Last: Quartz Tubes and Solid Connections
The heating element is a quartz tube, and that choice isn’t accidental. Quartz handles rapid heating and cooling without cracking, even when your day is full of on/off cycles. Inside, a halogen-filled filament delivers stable shortwave infrared output. The tube surface is coated to shape the heat, so it matches what the paint actually absorbs. And the connections? We use R7s or Sk15 connectors—industrial-grade contacts that stay secure under high current. They resist arcing, hold steady even when things vibrate, and make the whole setup feel dependable, not finicky.
Setup That Works: Height, Heat, and the Kind of Efficiency You Can Feel
Installation height is where you earn your peace of mind. For painting, the sweet spot is usually 300–500mm away. Get too close, and you risk scorching the surface. Too far, and the heat drops off fast. We provide mounting brackets that make it easy to set that distance and keep it consistent. When the height is right, the heat spreads evenly across the whole surface, and curing becomes predictable. No more guessing. No more checking and re-checking. Compared to convection ovens, this setup can cut drying time by over 50%. That’s the kind of efficiency that changes your day—less waiting, more finishing. Just keep one thing in mind: infrared needs a clear line of sight. If the lamp can’t see the area, that spot won’t cure evenly. It’s not a flaw; it’s simply how the physics works. Plan for it, and you’ll get results that feel fast, clean, and solid.